UI - Assigning a namespace into a role
- Sign into your account.
- Select the tenant that you have writing permissions on.
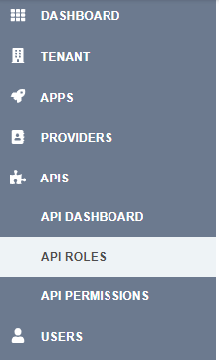
- In the left nav menu, click the ‘API Roles’ option under ‘APIS’.
- On the top right side of your screen, click the ’+ ADD ROLE’ button or on the table select the role that you want to update.
- A dialog will pop up. Clock on the ‘Settings’ tab to see a field named ‘Namespace’.
- Click on the ‘Select a namespace’ select field.
- Select the namespace that you want to assign to the role.
- Click the ‘Save’ button located on the center of the dialog.


