Create New Client
Instructions
- Sign into your account.
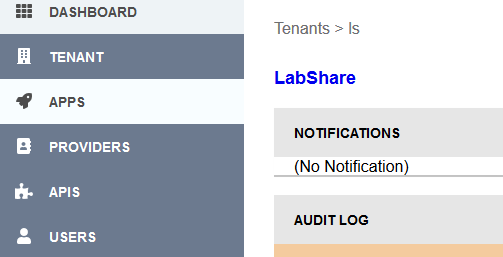
- Select the desired tenant.
- Go to the “APPS” section on the left top side of the screen.
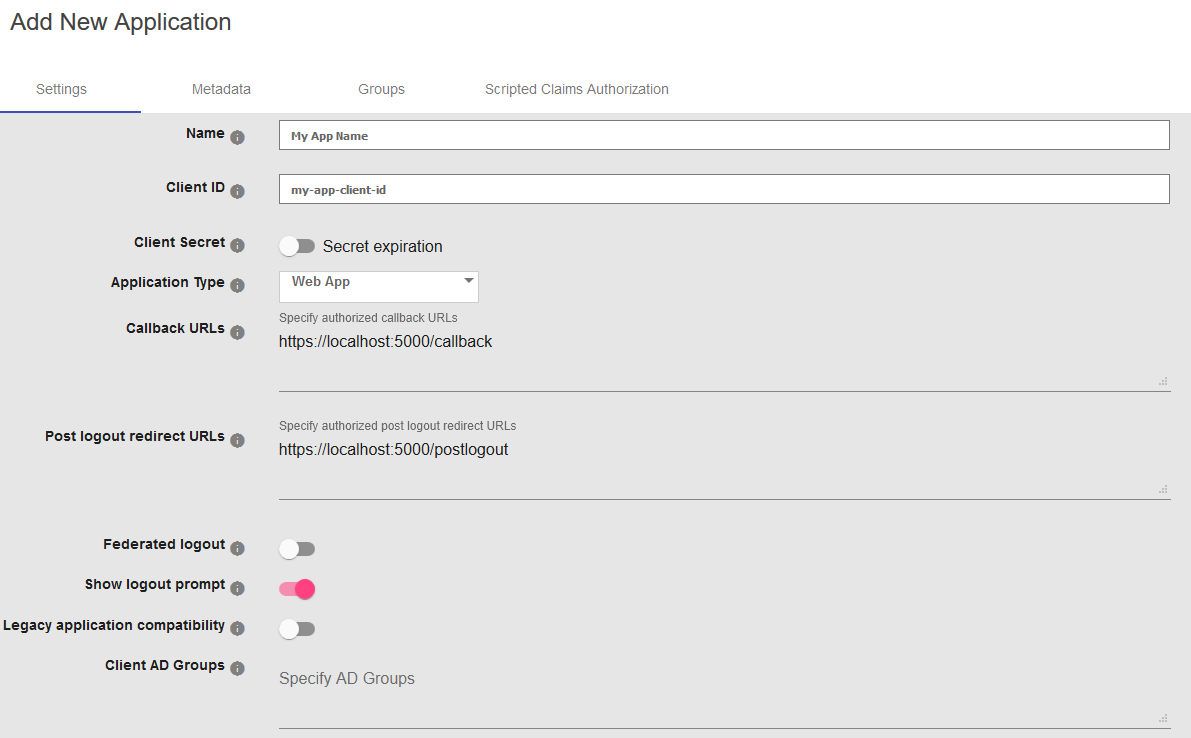
- Provide a client name and a client id.
- Select the application type from the drop-down list: SAML, WSFed, Web, or Native. Note that once the client is created, its type cannot be changed.
-
Provide one or more callback URLs. For web clients, URLs must use https. For native clients, both http and https can be used. However, native client https URLs must not be localhost.
-
Select whether the client requires Federated Logout, Show Logout Prompt, and/or Legacy Application Compatibility. You may also add Client AD Groups to the client.
- Select the response types, grant types, and token endpoint method.
- The response types are: code, id_token, id_token token, code id_token, code token, code id_token token.
- The grant types are: authorization_code, implicit, refresh_token, client_credentials, and urn:ietf:params:oauth:grant-type:device_code
- The token endpoint auth method is one of: client_secret_post, client_secret_basic, client_secret_jwt, private_key_jwt, none
- Select one or more providers.
- If you’re finished, you can click the SAVE button.
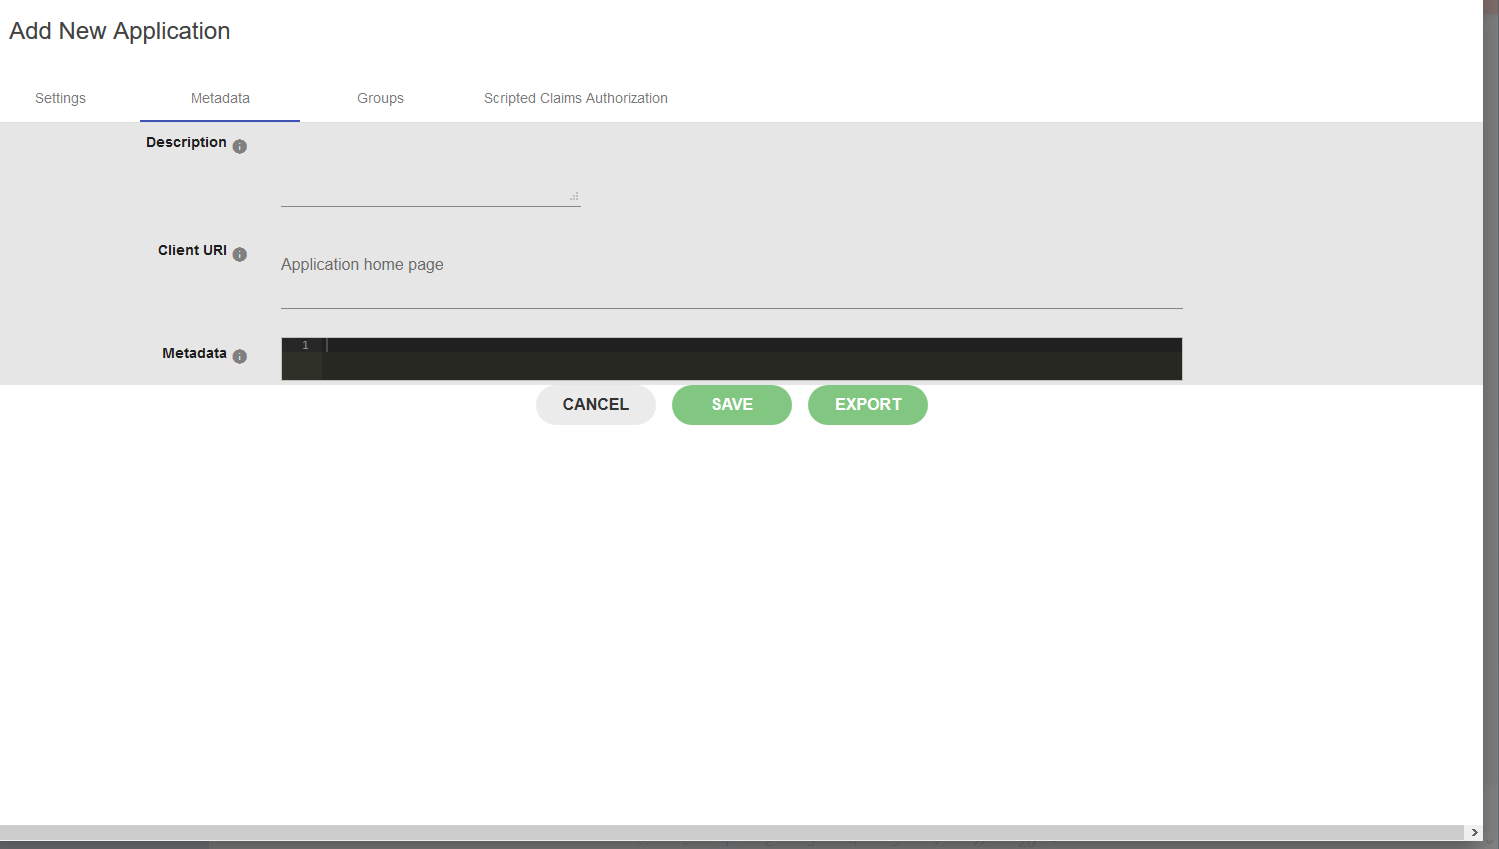
- Otherwise, you can add additional fields in the Metada tab: Description, Client URI, and Metadata.
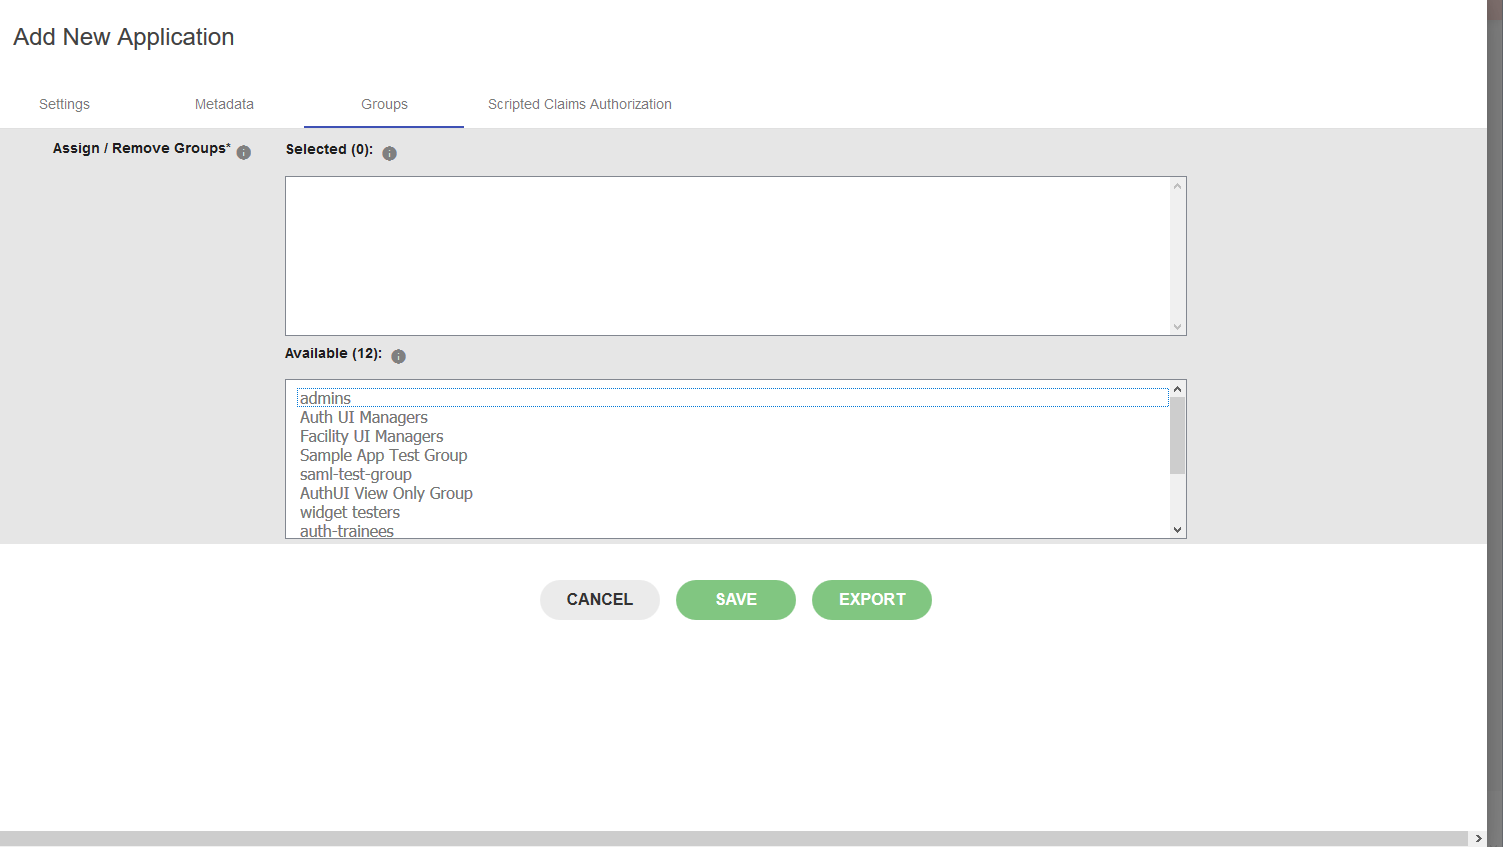
- Under the Groups tab, you can assign or remove groups to/from this client.
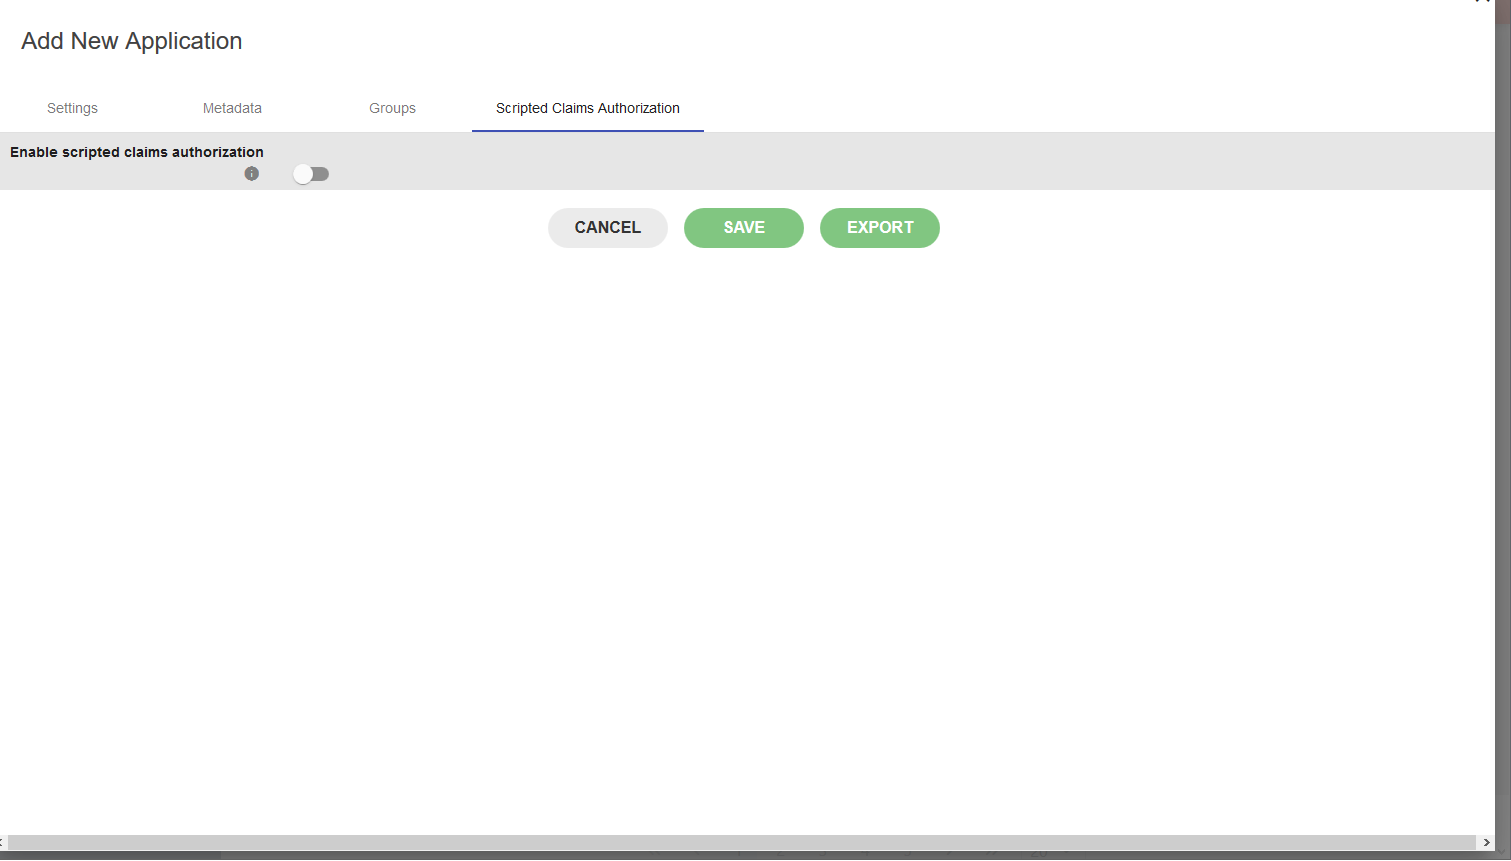
- You can enable Scripted Claims Authorization
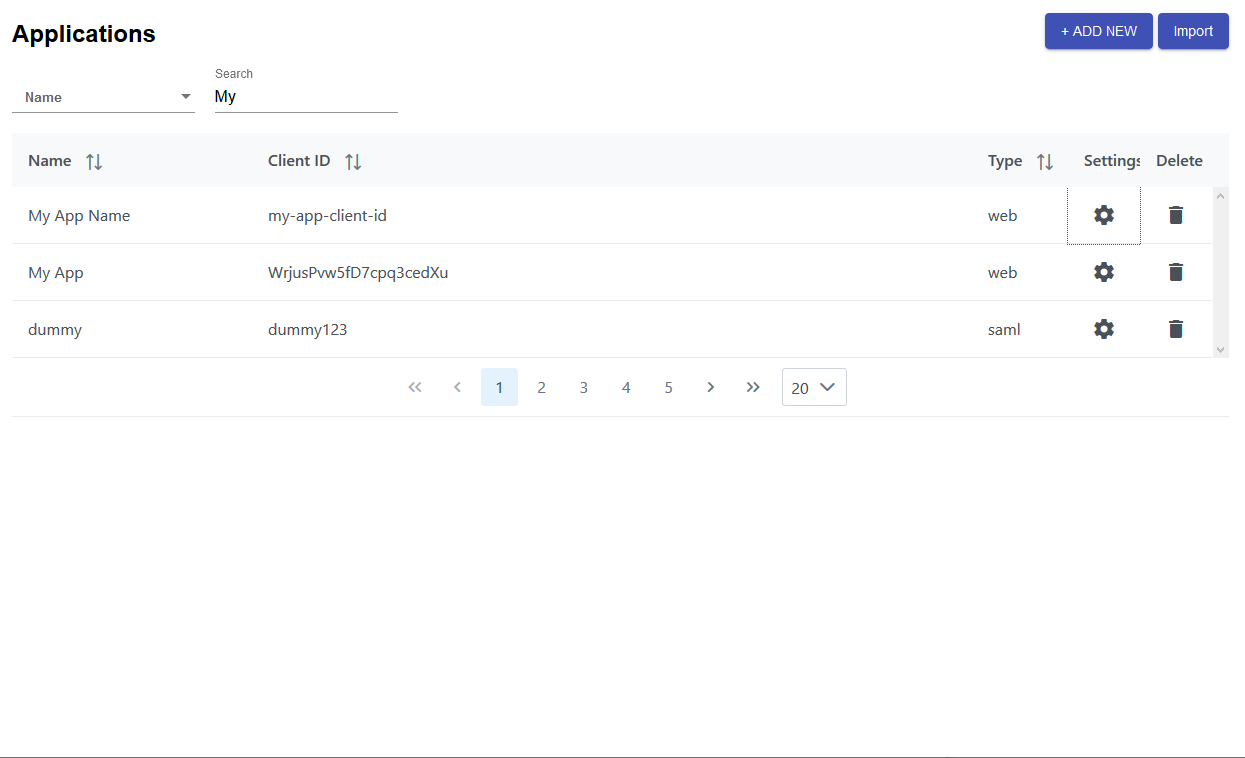
- You can now see the newly created client My App Name.
What’s Next?
Allow the Client App to Access a Resource Server
- Now we need to configure the client to use a resource server.
- This configuration will be done in the APIS section.
Create Necessary Permissions
- We’ll need to make sure the permissions are correct for the client application. These permissions are needed for things like sending email, accessing the list of users, etc.
- Create the necessary permissions in the PERMISSIONS section.
Add Permissions to new or existing Roles
- Permissions don’t function by themselves. They need to be combined into roles. Permissions can be assigned to an existing role, or a new role can be created for the given client application.
- To create a new role or to update an existing role, go to the ROLES section.
Add Users and Roles to new or existing User Groups
- We’ll need to add the necessary users (e.g. an email address) and roles to a user group. This user group will then be linked with the client application.
- To create a new user group or to update an existing user group and add users and roles, go to the USER GROUPS section.
