Create New Role
Instructions
- Sign into your account.
- Select the desired tenant.
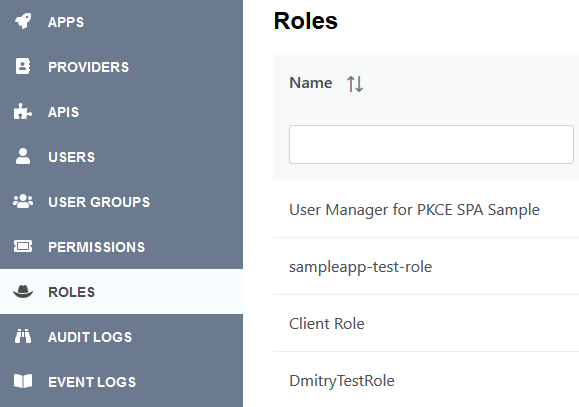
- Go to the “ROLES” section on the left top side of the screen.
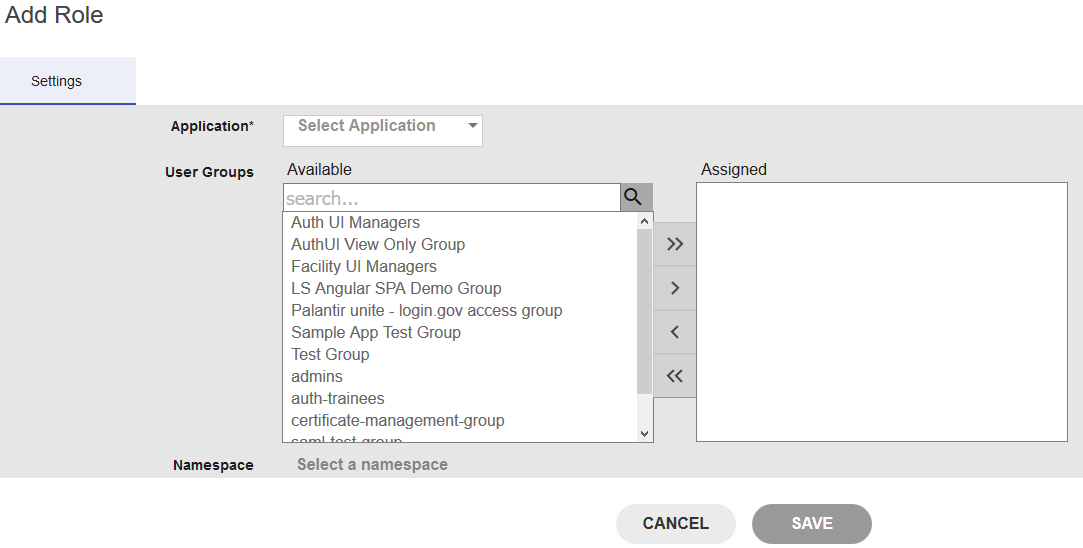
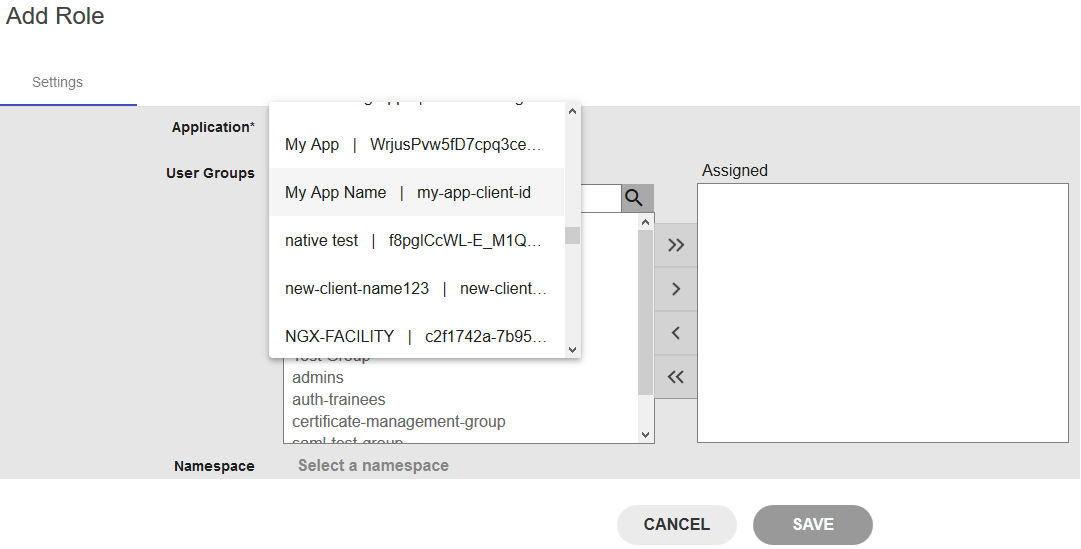
- Go to the Application drop-down.
- Select the desired client application (e.g. My App Name)
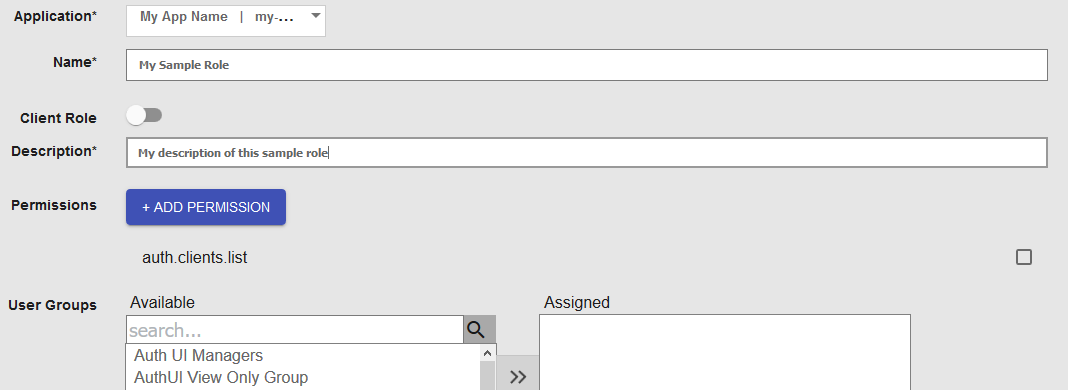
- In Name and Description, give this role a name (e.g. My Sample Role) and a description.
- All the way on the right, check the permissions box.
- In User Groups, assign an existing user group to this role.
- Select the available user group (e.g. My User Group).
- Click on the > button.
- Click on SAVE button.
- The the role is now created.
What’s Next?
Add Users and Roles to new or existing User Groups
- We’ll need to add the necessary users (e.g. an email address) and roles to a user group. This user group will then be linked with the client application.
- To create a new user group or to update an existing user group and add users and roles, go to the USER GROUPS section.


