LS-Auth integration with azure as IDP (SAML)
Below are instructions to set up azure as an IDP for LSAuth using SAML.
Creating Enterprise application on azure
-
Navigate to https://portal.azure.com/.
-
When logged into Azure, go to the Azure Active Directory .
-
Select the Enterprise applications on the left Navigation bar.
-
Click on the New application (+) on the top navigation bar.
-
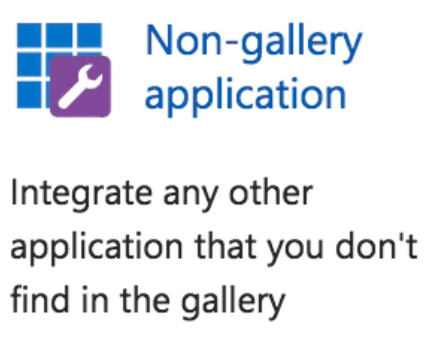
Select the Non-gallery application.
-
Provide name and click on Add
-
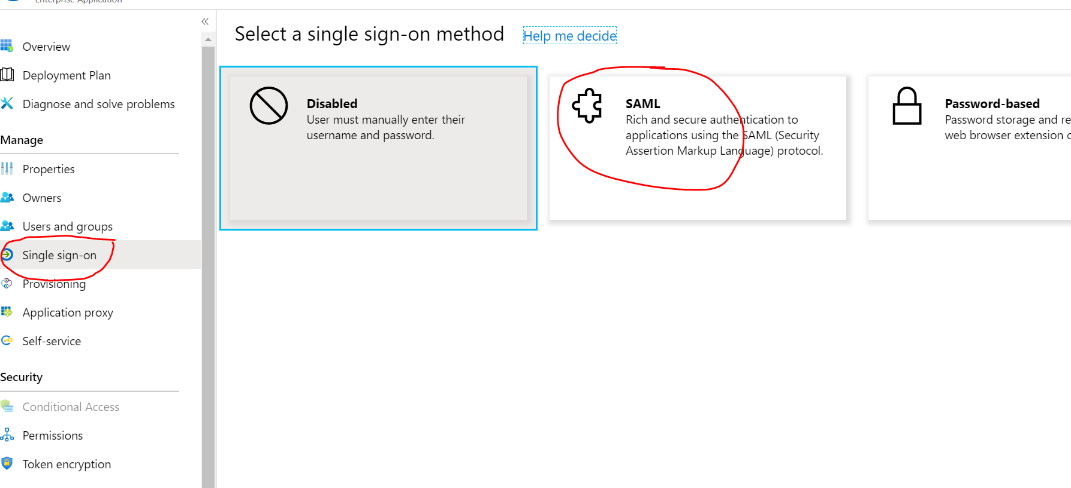
Once your application is successfully added, configure single sign-on (required) on left nav bar.
-
Select the SAML as Single Sign-on Mode.
- Update the Service Provider Entity ID, ACS URL and logout URL from service provider environment.
(NOTE: If you did not configure Service provider yet , then put in some arbitrary values to be updated later. But the SSO would not work until these match with the Service provider)
NOTE: Entity ID needs to be unique for that organization
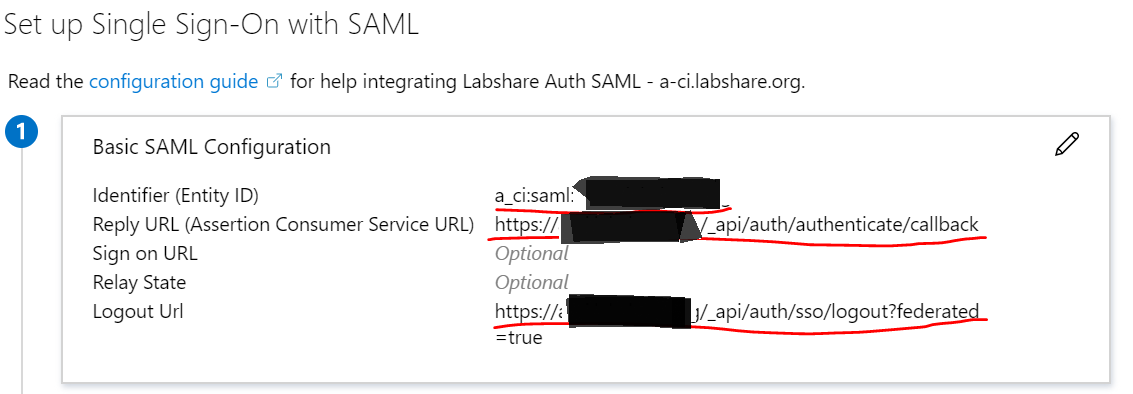
Here are some example values :
a:saml:azure:sample.app
https://auth.instance.org/_api/auth/authenticate/callback
https://auth.instance.org/_api/auth/sso/logout?federated=true
(You can find the LSAuth call back URLs for each env at LS-Auth: Quick Links )
-
Configure the SAML attributes if any specific attributes are needed by Service provider other than default (Optional)

-
Update the Notification email used for communication if needed. Also download the IDP certificate using the “Certificate (Base64)”.

-
Note down the IDP Login URL and Logout URL

-
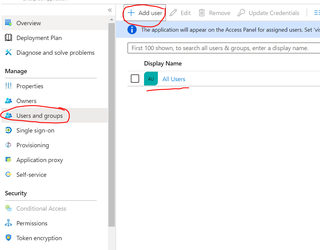
Assign azure users/ groups allowed to access this applications. Navigate to “Users and groups” in left nav bar and click on Add Users. You can select All users for allowing all Azure org users or select specific users and groups.
Create an Identity Provider Configuration in LSAuth
-
Log into the LS Auth console for and select the tenant that you will use.
-
Select “Providers” in the left nav menu and click the “Add New” button.
-
Select Provider Type “SAML2”
-
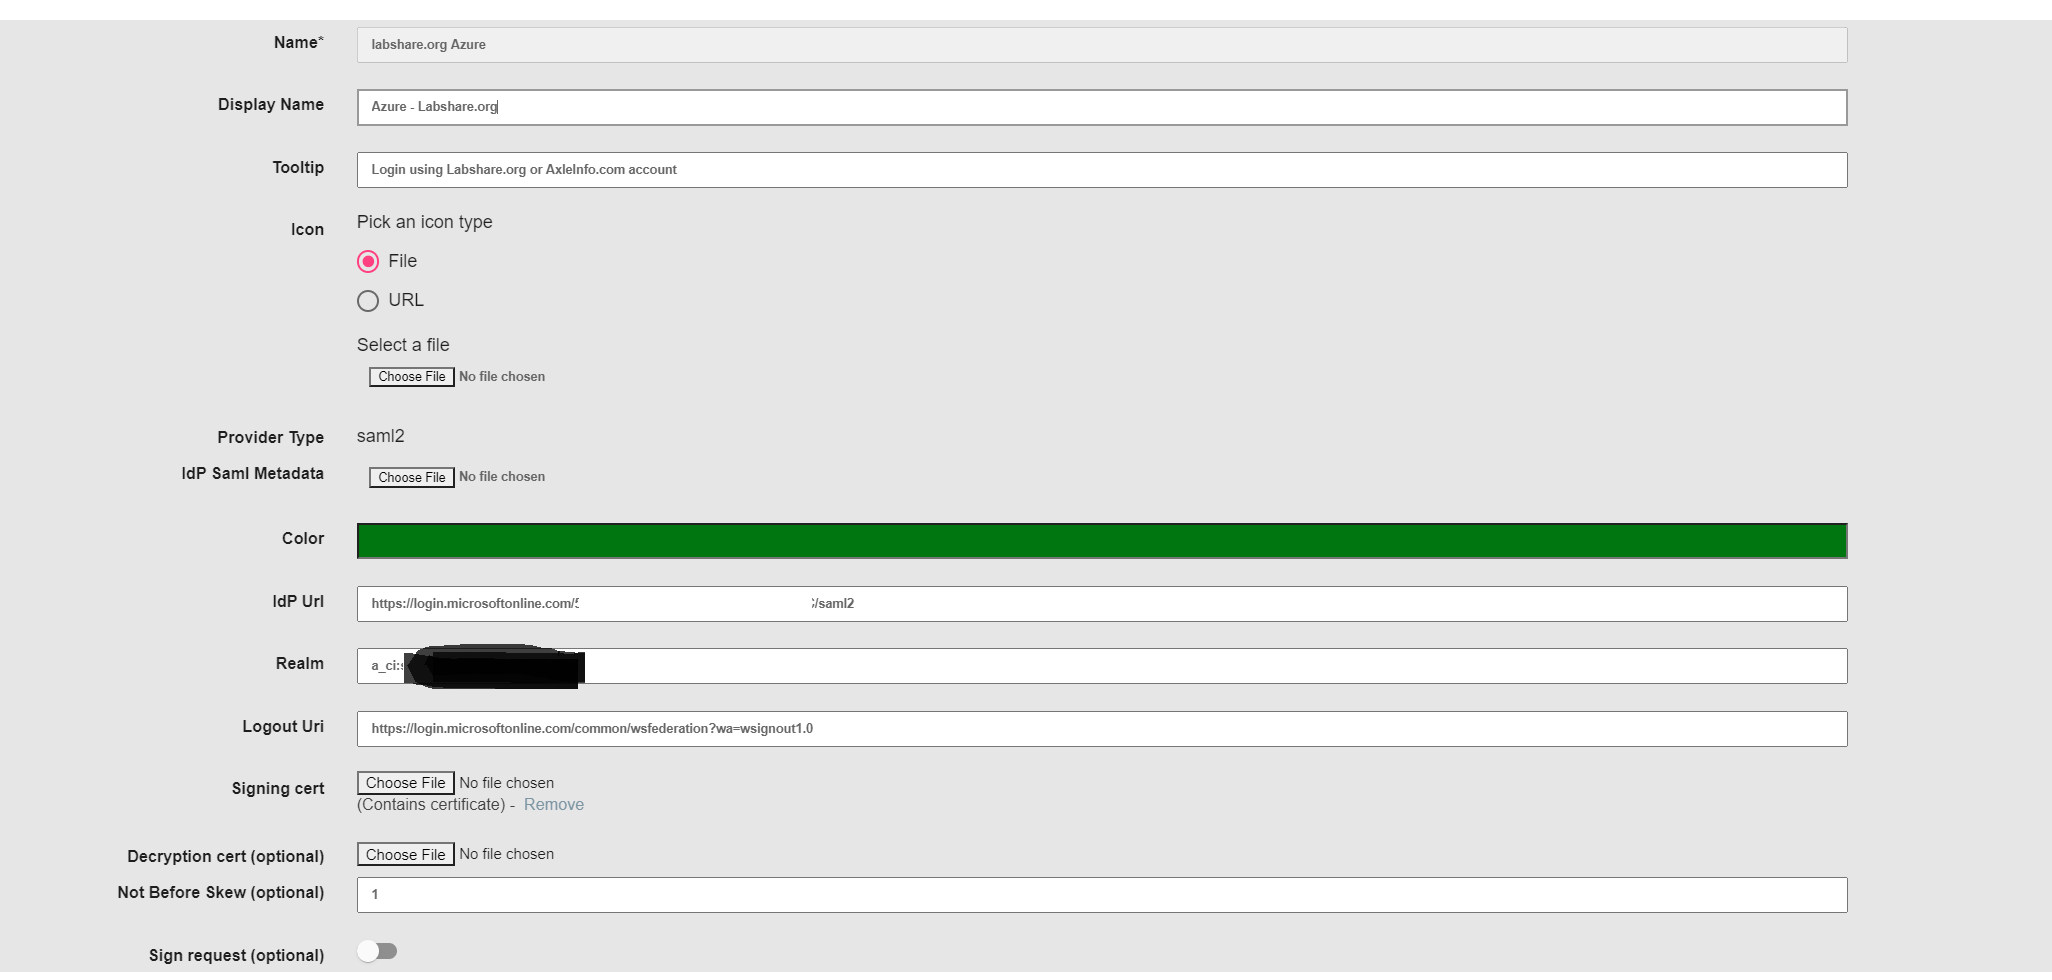
Enter the below details (You will need to use the details you noted from azure IDP configuration steps above)
IDP URL (IDP Login URL): https://login.microsoftonline.com[/«tenantID»/saml2]{.ul}
Logout URL (IDP Logout URL): https://login.microsoftonline.com/common/wsfederation?wa=wsignout1.0
Realm has to match the SP Entity ID provided in the Single sign on configuration in Azure application created above.
Signing Cert: Base64 IDP certificate you download above

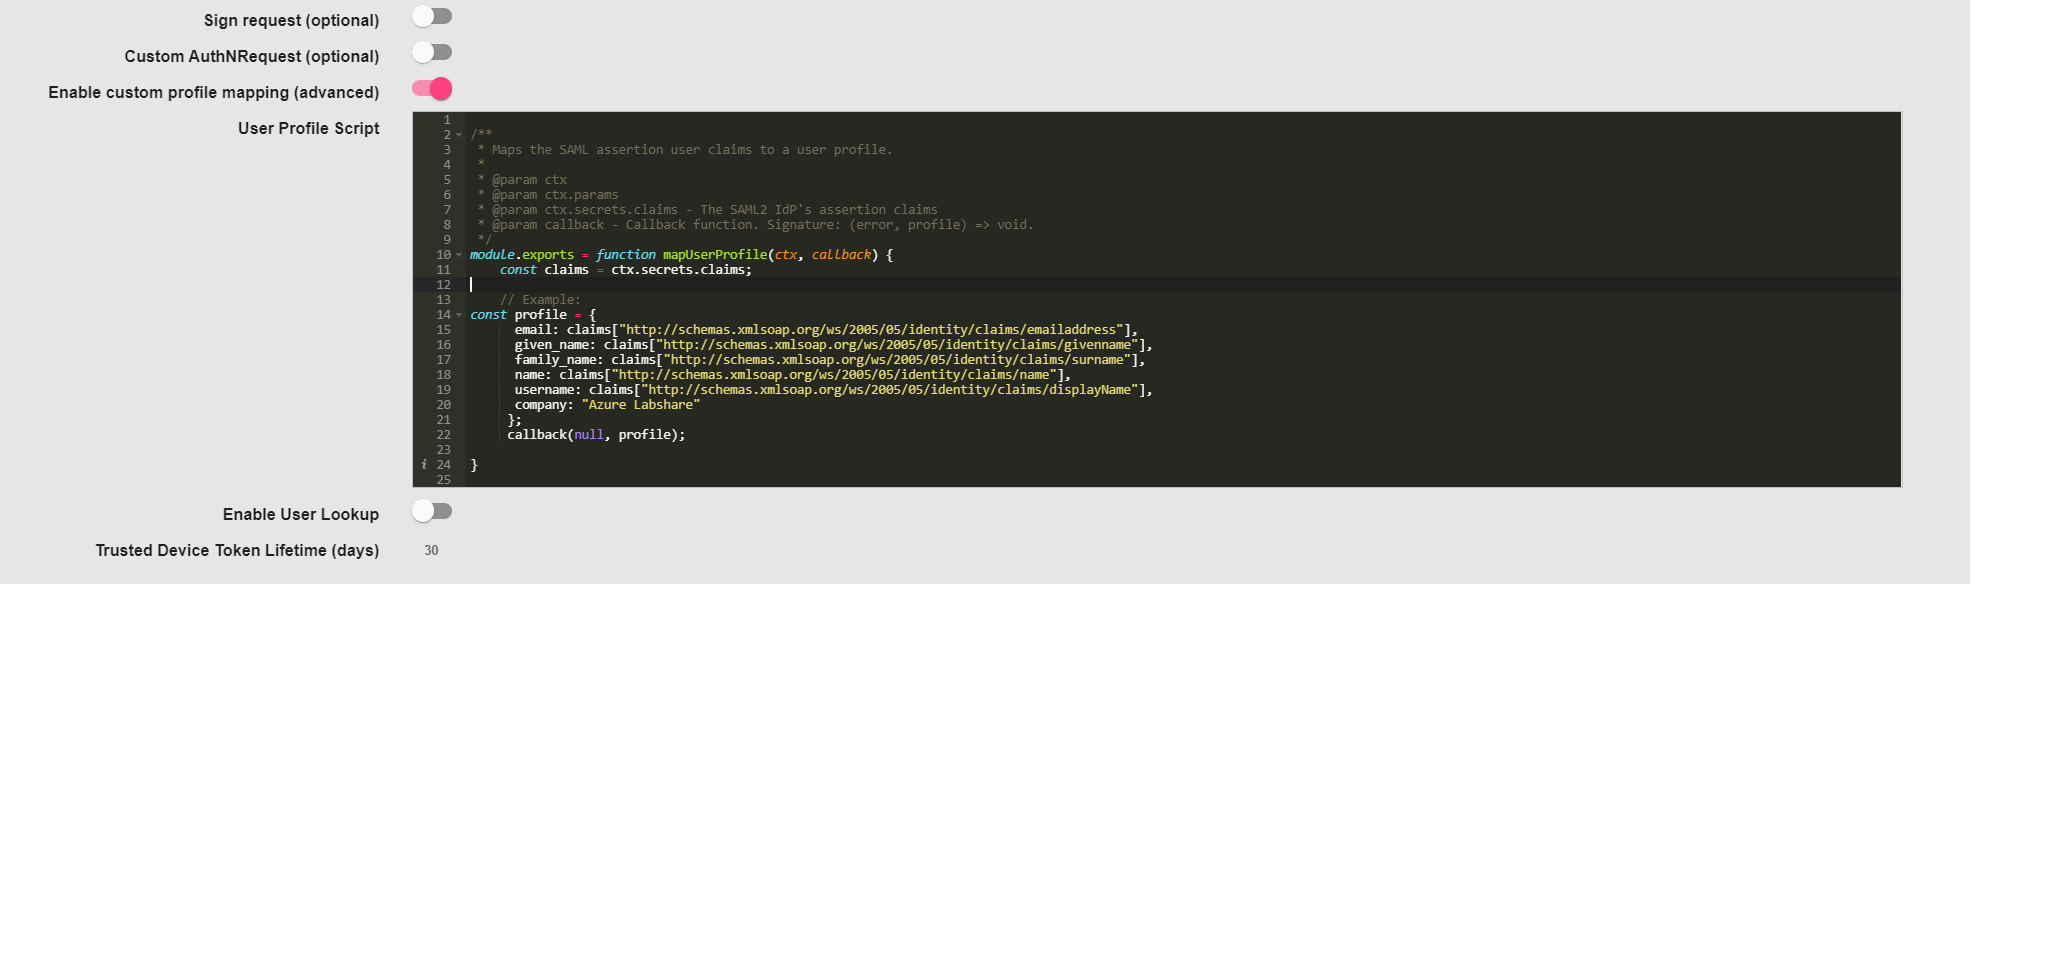
Use “User Profile Script” editor to set claim mappings. Copy the below
script into the “User profile Script” block
Note: Additional claims mapping options are also available in the
application configuration.
module.exports = function mapUserProfile(ctx, callback) {
const claims = ctx.secrets.claims;
const profile = {
email: claims["http://schemas.xmlsoap.org/ws/2005/05/identity/claims/emailaddress"],
given_name: claims["http://schemas.xmlsoap.org/ws/2005/05/identity/claims/givenname"],
family_name: claims["http://schemas.xmlsoap.org/ws/2005/05/identity/claims/surname"],
name: claims["http://schemas.xmlsoap.org/ws/2005/05/identity/claims/name"],
display_name: claims["http://schemas.xmlsoap.org/ws/2005/05/identity/claims/displayName"],
provider: "AzureAD"
};
callback(null, profile);
}
NOTE: When you are logging in for the first time, Azure will ask for user confirmation on access request .